Image by Luminar Neo / Youtube
Editing is a crucial step in photography that transforms good shots into stunning visuals. It’s more than just correcting flaws—editing allows you to bring creativity and polish to your images. Whether you’re a beginner or an experienced photographer, mastering post-processing can help you edit photos like a pro, turning simple photos into professional-quality visuals.
To edit photos like a pro, you’ll need to understand key editing tools and techniques that enhance composition, lighting, and color. In this guide, we’ll share essential tips to help you refine your skills, unlock your photos’ full potential, and develop a unique editing style that sets your work apart.
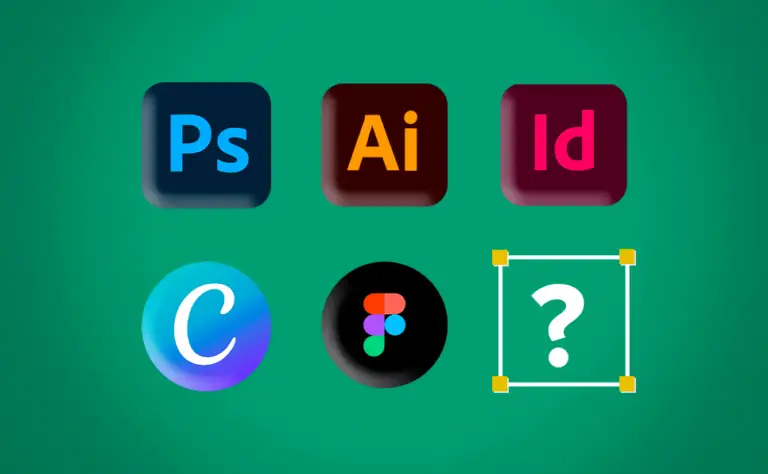
01. Choose the Best Photo Editing Software
The first step to edit photos like a pro is selecting the right software. Here are some top choices:
- Adobe Lightroom – Best photo editing software for color correction, exposure adjustments, and professional presets to help you edit photos like a pro.
- Adobe Photoshop – Advanced image retouching, background removal, and photo manipulation for those looking to edit photos like a pro.
- Capture One – High-end RAW photo editor favored by professional photographers for powerful editing capabilities.
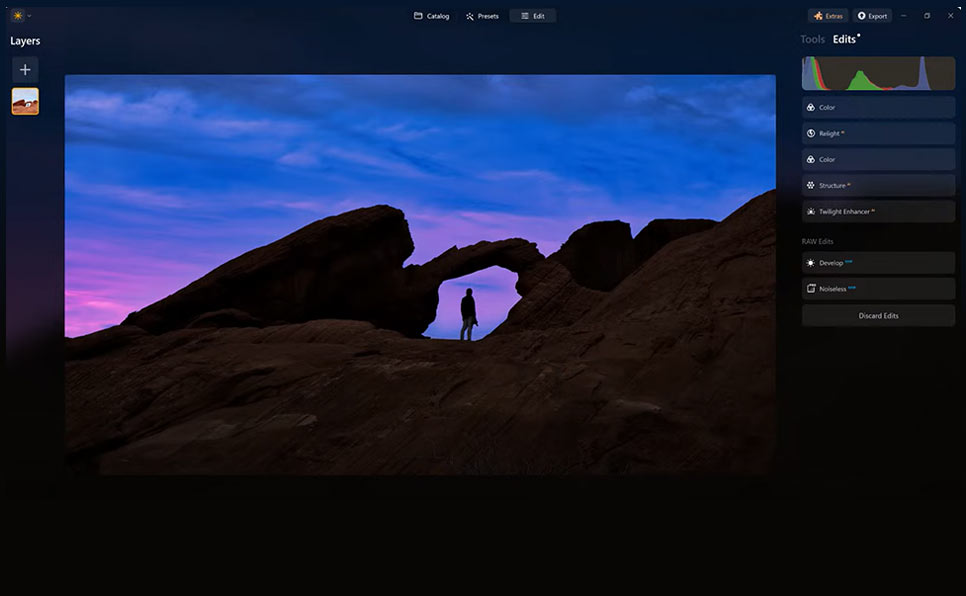
- Luminar Neo – AI-powered photo editing software, perfect for quick enhancements to edit photos like a pro.
- Snapseed (Mobile) – The best free photo editing app for mobile, allowing you to edit photos like a pro on the go.
Choosing the best editing software depends on your specific needs and workflow, but these options provide all the tools you need to edit photos like a pro.
02. Work with RAW Files for Maximum Image Quality
If you want to edit photos like a pro, shooting in RAW format is essential. RAW files preserve the most image data, making it easier to adjust exposure, white balance, and sharpness without losing quality. JPEGs, while convenient, limit your flexibility in post-processing. To truly edit photos like a pro, always work with RAW files for maximum image quality.
03. Start with Basic Photo Enhancements
Before diving into advanced techniques, start with basic adjustments to edit photos like a pro:
- Exposure correction: Adjust brightness to balance highlights and shadows.
- Increase contrast: Enhance differences between light and dark areas for more depth.
- Adjust white balance: Correct color temperature to achieve natural tones.
- Sharpen images & enhance clarity: Improve details without over-sharpening.
- Crop & improve composition: Use the rule of thirds to frame your shots professionally.
By mastering these basics, you’ll lay the foundation to edit photos like a pro and create polished, professional-quality images.
04. Master Color Correction & Photo Color Grading
To truly edit photos like a pro, mastering color correction is crucial. Color plays a major role in setting the mood of your photos. Here’s how you can refine them:
- HSL Adjustments: Fine-tune hue, saturation, and luminance for specific colors.
- Curves & Levels: Advanced tools for exposure and contrast correction.
- Split Toning: Add color tints to highlights and shadows for a professional look.
- Presets & LUTs: Apply professional filters and maintain consistent color styles across your images.
With these tools, you can edit photos like a pro, transforming ordinary photos into stunning, visually cohesive works of art.
05. Remove Blemishes & Unwanted Elements in Photos
Cleaning up distractions is another important step to edit photos like a pro. Whether it’s for portrait or landscape photography, use these tools to perfect your images:
- Spot Healing Brush (Photoshop/Lightroom) – Remove skin blemishes or dust spots with ease.
- Clone Stamp Tool – Replace unwanted elements by copying surrounding pixels.
- Content-Aware Fill – Automatically remove objects while maintaining background details.
By removing distractions, you’ll ensure your photos look clean and professional, helping you edit photos like a pro.
06. Enhance Image Details & Texture
To edit photos like a pro, details matter. Ensure your photos are crisp and polished by focusing on key elements without making them look over-processed:
- Dodge & Burn: Brighten highlights and deepen shadows to add depth.
- Texture & Clarity: Enhance fine details while keeping the image natural.
- Noise Reduction in Low Light Photos: Minimize grain while preserving essential details.
These techniques help bring out the best in your photos, allowing you to edit photos like a pro with impressive results.
07. Save & Export Images with the Right Settings
After you edit photos like a pro, it’s important to export them with the right settings for different platforms:
- For web & social media: Export as JPEG with sRGB color profile, and optimize resolution (e.g., 2048px wide for Facebook, Instagram, Pinterest).
- For high-quality printing: Save as TIFF or high-quality JPEG with Adobe RGB or ProPhoto RGB color profile at 300 DPI.
- For further editing: Keep a backup of the original RAW file and save as PSD or TIFF for lossless quality.
Using the correct export settings will ensure your images maintain the professional quality you worked hard to achieve as you edit photos like a pro.
Want to learn more? Check out our other guides:
- How to Choose the Best Aperture Every Time
- Composition Tips: How to Frame the Perfect Shot
- Best Photography Gear for Beginners
Get The FiveElements Newsletter